What Is Vehicle Diagnostics? How It Works, Costs, Benefits
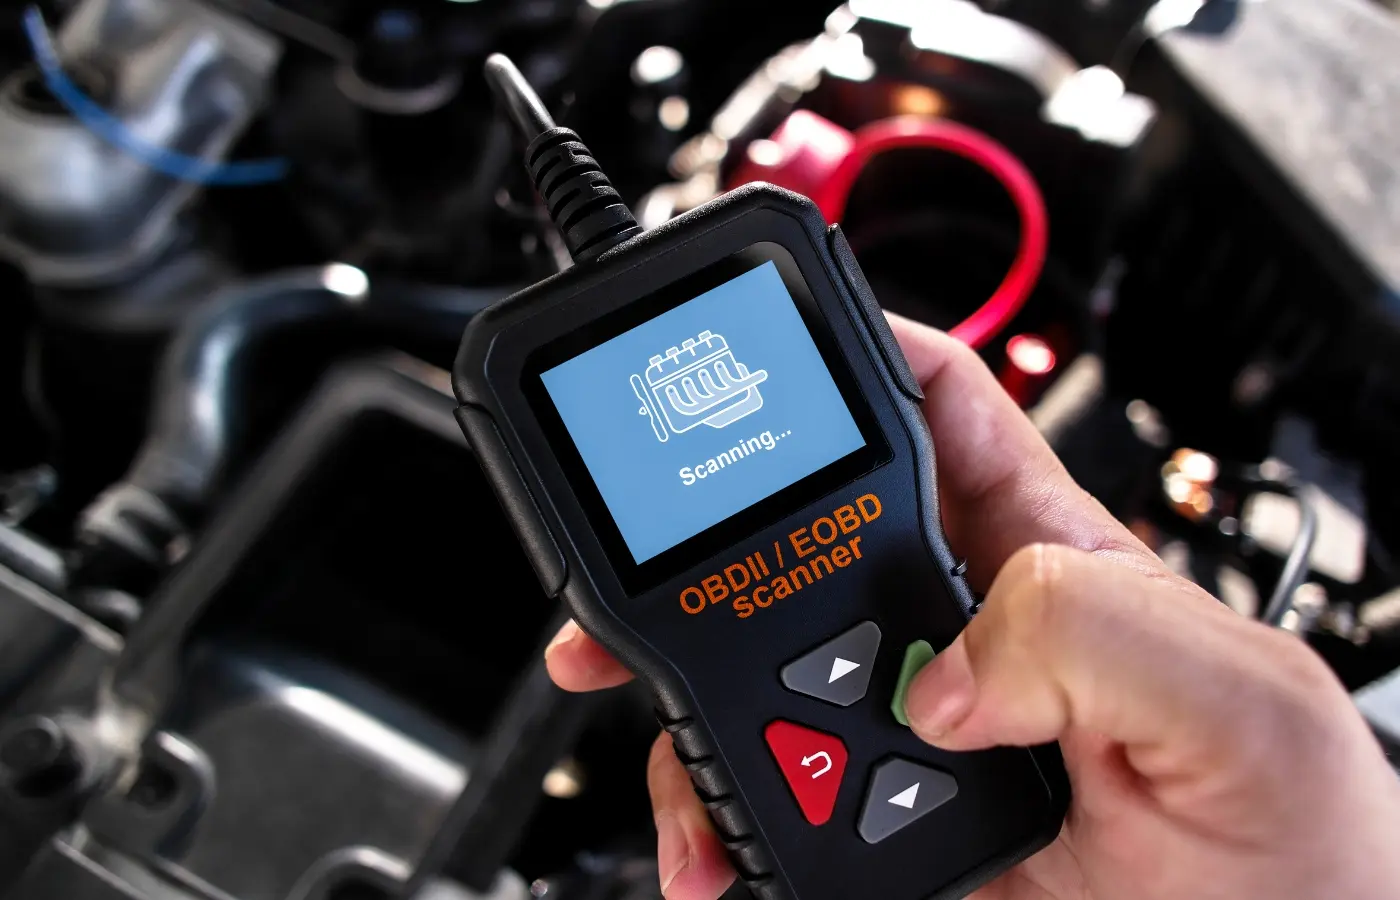
Vehicle diagnostics is the process of asking your car’s computers what they’re seeing. Modern vehicles use dozens of sensors that report to control units (ECUs). When something looks off—misfires, low sensor signals, emissions problems—the system logs a Diagnostic Trouble Code (DTC) and often turns on the Check Engine light. A technician or DIYer plugs a scanner into the OBD‑II port to read those codes and live data, which helps pinpoint where a fault lives (engine, transmission, brakes, or network) and speeds up accurate repair decisions.
This guide explains how diagnostics actually work (OBD‑II, ECUs, sensors, and codes), what a scan can and can’t tell you, and the systems a test checks. You’ll learn the difference between reading codes and true diagnostics, basics of decoding OBD‑II, when to scan, and whether to DIY or call a pro. We’ll cover typical cost and time, what’s included in a report, how often to test, choosing a trustworthy shop, special notes for hybrids/EVs, pre‑purchase uses, common pitfalls, and smart maintenance to pair with a scan.
How vehicle diagnostics work (OBD-II, ECUs, sensors, and codes)
Under the hood, vehicle diagnostics run on OBD‑II, the standard that links your car’s electronic control units (ECUs). Sensors feed those ECUs data on air, fuel, spark, temperatures, emissions, transmission status, and more. When values drift outside expected ranges, an ECU stores a Diagnostic Trouble Code (DTC) and may illuminate the Check Engine light. A technician connects a scan tool to the 16‑pin OBD‑II port to retrieve stored and pending codes plus live data. Codes flag the system and fault—P/C/B/U for powertrain, chassis, body, or network, with 0 generic and 1–9 manufacturer‑specific—while live readings help confirm what’s happening. The result is a narrowed search area that guides targeted testing and repair.
What systems a car diagnostic test checks
A car diagnostic test doesn’t just peek at the engine. The scanner polls multiple control modules and sensors, compares readings to expected ranges, and surfaces where performance is off. That means you get a quick health snapshot across major systems—not just a single part—such as:
- Engine/powertrain
- Transmission
- Emissions/exhaust
- Brakes/ABS/ESC
- Fuel/air/ignition
- Electrical/charging and networks
- Airbags/safety systems
What a diagnostic test can and cannot tell you
A diagnostic test reads stored and pending DTCs plus live sensor data from your car’s control modules. This reveals which system is out of range (engine, transmission, brakes, emissions), whether a fault is current or intermittent, and gives a fast starting point. Vehicle diagnostics accelerates triage so a technician can focus testing where it matters and confirm root cause.
- What it can tell you: DTCs and live data; whether a fault is active or pending; the system/circuit area to investigate; guidance for targeted testing and repairs.
- What it can’t tell you: The exact failed part every time; the “why” without further verification; a complete fix—codes must be diagnosed, repaired, and retested.
Check engine light and other signs you need diagnostics
The Check Engine light is your car’s request for diagnostics, but it isn’t the only clue. When an ECU flags out‑of‑range sensor data, drivability and safety systems often change. If you notice the signs below, plug in a scanner or book a test.
- Warning lights: Check Engine or other warnings (ABS, airbag, charging).
- Drivability changes: Rough running, power loss, stalling, misfires, or unusual noises.
- Starting, economy, smells, shifts: Hard starts, sudden MPG drop, fuel/exhaust smells, or harsh shifts.
DIY code reading vs. professional diagnostics
DIY code reading is a solid first step: plug into the OBD‑II port, pull active/pending DTCs, and view basic live data. It shows which system set the fault, not always the failed part. Professional vehicle diagnostics goes beyond codes—trained techs use advanced tools, real‑time data, and pinpoint tests to confirm root cause. DIY suits simple warning lights and monitoring; use a pro for drivability issues, recurring lights, safety‑system warnings, or emissions failures.
How to read basic OBD-II codes
Plug your scanner into the 16‑pin OBD‑II port, key on (engine off), and open Codes/Trouble Codes. You’ll see “active” and “pending” entries. Decode the five characters to understand the system involved and the likely fault area.
- First character: P/C/B/U = powertrain, chassis, body, or network.
- Second digit: 0 = generic; 1–9 = manufacturer‑specific.
- Third digit: Subsystem indicator (e.g., 3 = ignition/misfire).
- Fourth and fifth digits: Specific circuit or condition the ECU flagged.
Use the code as a starting point—confirm with tests and live data before replacing parts.
Car diagnostic test cost, time, and what’s included
Pricing depends on your vehicle and the depth of testing. A basic OBD‑II scan often takes only a few minutes and typically starts around $40, while more in‑depth analysis—and any related repairs—can run higher, even several hundred dollars depending on the issue’s complexity. Ask shops exactly what their “diagnostic” covers and what’s billed separately so you know what you’re authorizing.
- Code retrieval and review: Read active/pending DTCs and translate them into plain language.
- Live/recorded data check: View sensor readings to verify what the ECU saw.
- Guided inspection: Investigate the area the code points to (e.g., exhaust if an emissions code).
- Recommendations: Outline likely fixes and costs before work proceeds.
- Verification scan: Clear codes after repair and recheck to confirm resolution.
Benefits of regular diagnostics for your car
Regular vehicle diagnostics are preventative maintenance. Scanning OBD‑II codes and live data catches small faults early, lets you schedule repairs on your terms, and keeps performance, safety, and efficiency on track.
- Save money: Fix minor issues before major repairs.
- Stay safer: Spot brake, emissions, and electrical faults sooner.
- Cut downtime: Avoid surprise breakdowns with planned service.
What to expect in a diagnostic report
A solid vehicle diagnostics report translates scan data into plain English so you know the problem, severity, and next steps. It explains why a light came on, which systems set codes, whether faults are active or intermittent, and what tests confirmed the issue, plus pricing and verification.
- DTCs: plain-language descriptions and status.
- Live data/graphs: support for the diagnosis.
- Recommendations: estimates, priorities, and a retest plan.
How often should you run diagnostics?
Scan your vehicle any time the Check Engine or other warning light appears or you notice drivability issues (rough running, power loss, hard starts). As preventative maintenance, run diagnostics at least annually—and if you DIY, a quick seasonal (quarterly) scan is smart. After any repair, repeat the test to confirm the fault is resolved.
How to choose a trustworthy diagnostic service
Picking the right shop matters because diagnostics is more than pulling codes. You want root-cause testing, clear communication, and no surprises on the bill. Use this quick checklist to separate a true diagnostic service from a free code read that stops short of an answer. The right partner will prove the fault and verify the fix.
- Advanced tools: Pro scan equipment, oscilloscope/smoke testing, and real-time data access.
- Skilled technicians: Certified, well-trained pros who diagnose root cause—not just read codes.
- Transparent pricing: Written scope, estimate, and authorization before deeper testing.
- Documented report: DTCs, live data, test results, recommendations, and a verification re-scan.
- Trust signals: Strong reviews and clear communication throughout.
Diagnostics for hybrids and EVs: what’s different
Hybrids and EVs still use the OBD‑II port and DTCs, but add high‑voltage systems that change the game. Beyond the engine/transmission (for hybrids), diagnostics must evaluate the battery pack, inverter, electric motors, DC‑DC converter, onboard charger, and thermal management. Many findings live in manufacturer‑specific codes and data PIDs, so pro‑grade tools and EV‑trained technicians are essential. Safety matters, too—high‑voltage troubleshooting follows strict procedures and verification steps you shouldn’t DIY.
- What’s unique: HV battery/BMS data, charging faults, inverter/motor controls, isolation and cooling performance.
- Tools/skills: OE‑level scan access, proper test equipment, and high‑voltage safety training.
Using diagnostics in a pre-purchase inspection
Before you buy a used car, a quick vehicle diagnostics scan adds objective data to a visual check and test drive. Plugging into the OBD‑II port reveals active and pending codes plus live data across engine, transmission, emissions, brakes, and safety modules. It can expose hidden issues, guide budgeting, and strengthen your decision to walk away or negotiate fairly.
- Check codes and status: Note DTCs, which systems set them, and if faults are intermittent.
- Test and recheck: Scan, road-test, then rescan to see if codes return under load.
- Document findings: Save reports to support pricing or repair requests.
- Pair with a pro: For drivability or safety warnings, get a professional diagnostic to confirm root cause.
Avoiding common pitfalls with “free” diagnostics and code clearing
Beware “free diagnostics” that are only code reads. A scan tool pulling DTCs is a starting point, not a diagnosis; it doesn’t tell you why or which part to replace. Also, simply clearing codes without fixing the cause only hides the warning and wipes helpful data—then the light returns and you’ve lost time.
- Clarify what’s included: Is further testing billable?
- Read the fine print: Avoid surprise or hidden fees.
- Don’t authorize parts: Never replace based only on a code.
- Verify the repair: Request a re-scan to confirm the fix.
Related maintenance that pairs well with diagnostics
Diagnostics work best when followed by quick maintenance that supports the same systems. Tackle a few basics the same day to steady drivability, emissions, and safety—and to create clean baselines for future scans. That way small faults don’t snowball.
- Engine air filter: restore airflow and fuel trims.
- Battery/charging test: verify stable voltage to modules.
Key takeaways
Good diagnostics turn your car’s sensor data into clear decisions. OBD‑II codes and live data narrow the search; a simple code read isn’t the whole diagnosis. Scan when lights come on or drivability changes, expect a defined scope and verification, and know costs start around $40 for a basic scan and rise with deeper testing or repairs. DIY is fine for basics; pros confirm root cause—especially on hybrids/EVs.
- Scan promptly: Warning lights or drivability issues need immediate checks and a post‑repair re‑scan.
- Use codes wisely: Treat DTCs as a starting point—not a parts list.
- Pick the right shop: Advanced tools, skilled techs, transparent pricing, documented reports.
- Prevent problems: Annual or seasonal scans; pair with simple maintenance.
- Hybrid/EV care: Choose EV‑trained technicians for high‑voltage systems.
Ready for a clear, no‑surprises diagnostic? Start with Certified AutoBrokers at Visit Our Service Department.