How To Measure Car Performance: Power, 0–60, And Braking
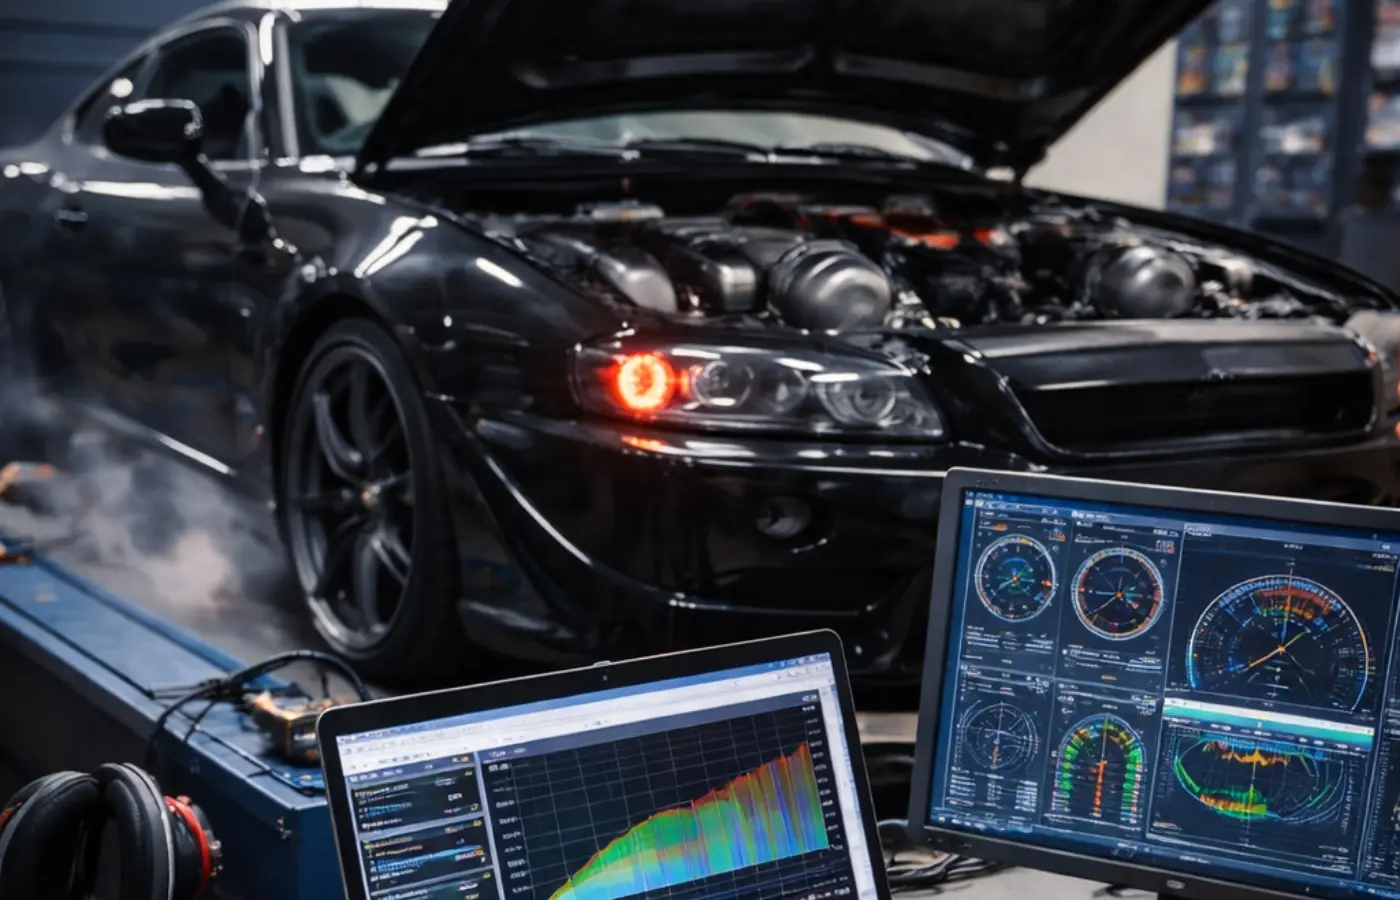
Numbers don't lie, and when you're evaluating a vehicle, understanding how to measure car performance separates informed buyers from those relying on gut feelings. Whether you're comparing two sedans on our lot or researching your next sports car purchase, knowing what horsepower, torque, and acceleration figures actually mean gives you real leverage in your decision-making.
At Certified AutoBrokers, we believe knowledge is power. Our customers in Western New York and across the country regularly ask us about the performance specs on our used inventory, and we're happy to break down what those numbers reveal about how a vehicle will actually drive. But specs on a window sticker only tell part of the story.
This guide covers the core methods used to quantify a car's capabilities, from dynamometer testing that measures engine output to real-world acceleration and braking tests you can evaluate yourself. By the end, you'll understand exactly what metrics matter, how professionals measure them, and how to apply this knowledge when shopping for your next vehicle.
Before you start: tools, safety, and test plan
Measuring car performance requires preparation. You can't just jump behind the wheel and expect accurate data without the right equipment, a safe environment, and a clear testing protocol. Professional testing facilities spend thousands of dollars on specialized gear, but you can gather meaningful performance data with a modest budget and careful planning.
What you'll need
Your equipment list depends on which aspects of performance you want to measure. For basic acceleration testing, you need a GPS-based performance meter (like those from Garmin or dedicated automotive units), a stopwatch app on your smartphone, and a video camera to document runs. These devices track your speed and calculate 0-60 times with reasonable accuracy, typically within 0.1-0.2 seconds of professional equipment.
If you're measuring horsepower and torque, you'll need access to a chassis dynamometer at a local shop. Most dyno facilities charge between $100-$300 per session, and they provide detailed readouts showing power curves across the RPM range. For estimation methods, you'll need only a calculator, your vehicle's weight (found in the owner's manual), and acceleration data you've already collected.
Braking tests require additional safety equipment. You need measuring tape or a calibrated distance marker, traffic cones to mark starting and stopping points, and ideally a passenger with a clipboard to record data while you focus on driving. A tire pressure gauge and infrared thermometer help you monitor conditions between runs.
Safety comes first
Never test on public roads. You need a closed course or private property with permission from the owner, preferably a location used for automotive events like autocross or track days. Testing on highways or city streets puts you, passengers, and other drivers at serious risk, and it's illegal in most jurisdictions.
Testing performance safely means accepting that some measurements require professional facilities, not public roads where conditions and legality work against you.
Check your vehicle's condition before any performance testing. Worn tires, old brake pads, or low fluid levels compromise both safety and data accuracy. Walk around your car, verify tire pressures match the door jamb specifications, and confirm your brakes feel firm with no unusual noises or vibrations.
Bring a helper. Performance testing requires someone to operate timing equipment, record data, and watch for hazards while you drive. Solo testing means you're either distracted by equipment or making multiple passes to capture different data points, which introduces variables that skew your results.
Planning your test sequence
Create a testing checklist before you arrive at your location. Start with the least demanding tests first (like steady-state measurements) and progress to high-stress evaluations (repeated hard braking or full-throttle acceleration runs). This approach lets you identify any vehicle issues before you push components to their limits.
Document baseline conditions for every test session. Record ambient temperature, humidity, elevation, and wind speed because these factors significantly affect performance. A car that runs a 6.5-second 0-60 time on a cool morning at sea level might need 7.0 seconds on a hot afternoon at 5,000 feet elevation.
Plan for multiple runs of each test. Professional publications typically average three to five runs and discard outliers to account for driver inconsistency, changing conditions, or measurement errors. Your first run serves as a warm-up; your second through fourth runs provide the data you'll actually use. Space tests apart by at least three to five minutes so your brakes, tires, and engine return to normal operating temperatures.
Step 1. Pick the metrics you'll measure
Performance means different things to different drivers, and you can't measure everything in a single test session. Your first step is identifying which specific metrics matter most for your evaluation. Are you comparing how quickly a car accelerates from a stoplight, or do you care more about its top-speed capability on an open highway? Understanding how to measure car performance starts with knowing which numbers actually answer your questions.
Power metrics: horsepower and torque
Horsepower and torque quantify your engine's output. Horsepower measures how quickly your engine performs work, while torque represents the rotational force available at the crankshaft. Both numbers tell you different aspects of engine character, and you'll find them listed at specific RPM points (usually peak figures) in any vehicle's specifications.
You measure these values on a dynamometer, but you can also estimate them through calculation if you know your vehicle's weight and acceleration times. Most buyers care about peak horsepower for highway merging and low-end torque for city driving, so record both figures along with the RPM ranges where they occur.
Acceleration metrics: straight-line speed
Acceleration tests measure how quickly your vehicle gains speed. The 0-60 mph time remains the industry standard because it captures real-world passing and merging capability. You should also measure quarter-mile time and trap speed (your velocity at the finish line), which reveal how well your car maintains acceleration as speeds increase.
Rolling acceleration matters more for highway driving. Measure 30-50 mph and 50-70 mph times in the gear you'd actually use for passing. These figures show whether your transmission provides usable power without downshifting, which affects everyday drivability more than 0-60 sprints from a standstill.
Choose metrics that match how you actually drive, not just the impressive-sounding numbers that manufacturers advertise.
Braking metrics: stopping power and consistency
Braking distance from 60-0 mph tells you how much road you need in an emergency stop. Measure this distance in feet, and run the test multiple times because brake fade (loss of stopping power from heat) reveals whether your vehicle maintains performance under stress or deteriorates after repeated hard stops.
Record pedal feel and any unusual noises during each braking run. A car that stops in 120 feet on the first attempt but needs 140 feet on the third run has a heat management problem that matters during mountain drives or track days. You want consistency across multiple stops, not just one impressive number.
Step 2. Measure horsepower and torque with a dyno
A chassis dynamometer gives you the most accurate measurement of your vehicle's actual power output. Unlike manufacturer specifications that report engine power at the crankshaft under ideal conditions, a dyno measures wheel horsepower, which accounts for power loss through your transmission, differential, and drivetrain. You get real numbers that reflect what your car actually delivers to the road.
Finding a dyno facility
Search for performance shops, tuning specialists, or speed shops in your area that offer dyno services. Most facilities operate Dynojet or Mustang dynamometers, both industry-standard systems that produce reliable data. Call ahead to confirm they test vehicles like yours, because some shops specialize in specific types (motorcycles, diesel trucks, or import tuners) and might decline your appointment.
Expect to pay $100 to $300 per dyno session, which typically includes three to five pulls and a printed graph showing your power curves. Ask whether the price covers multiple runs, because you want at least three pulls to verify consistency. Some shops offer package deals if you're also purchasing tuning services or modifications.
The testing process
Your vehicle gets strapped down to the dyno with heavy-duty tie-downs securing all four corners to prevent movement during full-throttle pulls. The operator places your drive wheels on rotating drums that resist your acceleration, simulating road load while measuring the force your wheels apply against them.
Professional dyno testing reveals not just peak numbers but the entire power curve, showing you exactly where in the RPM range your engine produces usable power.
You'll start with warm-up pulls at partial throttle to bring your engine and transmission to operating temperature. Then the operator signals you to perform full-throttle acceleration runs from low RPM through redline in the gear they specify (usually third or fourth gear for most dynos). The entire pull takes only 10 to 20 seconds, but it generates enormous heat in your drivetrain.
Between runs, your car cools down for three to five minutes with cooling fans pointed at your radiator and wheels. This cooling period prevents heat soak that would skew results and potentially damage components.
Reading your dyno results
Your printout shows two curves plotted against RPM: horsepower climbing toward peak and torque reaching maximum at lower RPM before tapering off. Find the highest points on each curve and note the RPM where they occur. These peak figures represent your vehicle's maximum capability, but the shape of the entire curve matters more than single numbers.
Look for a broad, flat torque curve that indicates usable power across a wide RPM range. A car with 250 lb-ft of torque from 2,000 to 5,000 RPM feels more responsive during daily driving than one with 300 lb-ft available only in a narrow 4,500 to 5,000 RPM window.
Step 3. Estimate power without a dyno
You don't need a dynamometer to estimate your vehicle's horsepower if you can measure acceleration times and know your car's weight. These calculation methods sacrifice precision for convenience, but they provide useful approximations when dyno testing isn't practical or affordable. The math relies on basic physics: accelerating a known mass to a specific speed requires a calculable amount of power.
The trap-speed formula
Your quarter-mile trap speed (the velocity you reach at the finish line) reveals engine output through a straightforward calculation. Divide your trap speed by your vehicle's weight, then apply the formula: HP = (Weight × (Trap Speed ÷ 234)³). For a 3,500-pound car crossing the quarter-mile at 95 mph, you calculate (3,500 × (95 ÷ 234)³), which estimates approximately 240 horsepower at the wheels.
This method works because trap speed correlates directly with power-to-weight ratio. A heavier vehicle needs more horsepower to reach the same speed in the quarter-mile, and the formula accounts for that relationship. Record your trap speed using GPS timing equipment or at a drag strip with electronic timing, because visual speedometer readings introduce too much error.
Estimation methods give you ballpark figures for comparison shopping, but they can't replace dyno testing when you need precise measurements for tuning or modification work.
Weight and acceleration calculation
The ET method uses your 0-60 mph time and vehicle weight to estimate power output. The formula approximates HP = (Weight × 0.98) ÷ (0-60 Time ÷ 5.825). For that same 3,500-pound car running 0-60 in 6.5 seconds, you calculate (3,500 × 0.98) ÷ (6.5 ÷ 5.825), arriving at roughly 235 horsepower.
Find your vehicle's curb weight in the owner's manual or on a sticker inside the driver's door jamb. Add 200 pounds for a full tank of fuel and your body weight during testing, because the calculation requires the actual weight during your acceleration run. Understanding how to measure car performance through these calculations helps you verify manufacturer claims or compare modified vehicles against baseline specifications.
Limitations you need to know
Estimation formulas assume perfect traction and ignore aerodynamic drag, drivetrain losses, and transmission efficiency. Your results typically fall within 10 to 15 percent of actual dyno readings, which means a true 250-horsepower engine might calculate anywhere from 215 to 285 horsepower depending on conditions and driver skill.
Use these calculations for rough comparisons between similar vehicles, not for making modification decisions or verifying tuner claims. Variables like tire grip, launch technique, and atmospheric conditions affect your acceleration times enough to significantly skew power estimates. Dyno testing remains the only reliable method for precise horsepower and torque measurements.
Step 4. Measure 0–60 and rolling acceleration
Acceleration testing reveals how quickly your vehicle gains speed under real-world conditions. You need precise timing equipment, a suitable location, and consistent technique to generate reliable data. These tests show you exactly how your car performs during highway merging, passing slower traffic, and launching from stoplights, giving you practical information beyond manufacturer specifications.
Setting up your test location
Find a flat, straight section of pavement at least half a mile long with minimal traffic and good surface conditions. Airport runways, abandoned roads, or private racetracks work best because you need uninterrupted space for multiple runs plus safe deceleration zones. Avoid testing on crowned roads (higher in the center) or surfaces with standing water, because these conditions affect traction and skew your results.
Mark your starting line with traffic cones or chalk, positioning yourself far enough back that you can accelerate to the line at your chosen starting speed. For 0-60 tests, you begin from a complete stop with your front bumper at the line. For rolling acceleration, you need enough distance to stabilize at your target speed (30 mph or 50 mph) before crossing the start marker.
Running 0-60 mph tests
Position your GPS timing device on your dashboard where it maintains clear satellite lock throughout the run. Most units need several minutes to acquire satellites and calibrate, so power them on before you start your test session. Launch control systems or traction control settings should match your typical driving conditions unless you're specifically testing maximum-performance launches.
Release your brake and apply full throttle as smoothly as possible from a standing start. Harsh launches that spin your tires waste time and introduce inconsistency between runs. Your timing device automatically records when you cross 60 mph and displays your elapsed time, typically showing results within 0.1 to 0.2 seconds of professional equipment.
Master the basics of how to measure car performance through acceleration testing before attempting advanced metrics, because consistent technique matters more than expensive equipment.
Complete three to five runs in the same direction, allowing your transmission and tires to cool between attempts. Average your middle three times and discard the fastest and slowest if they differ by more than 0.3 seconds, which indicates inconsistent launches or changing conditions.
Measuring rolling acceleration
Rolling tests simulate real-world passing scenarios. Stabilize your speed at 30 mph in the gear you'd normally use for city driving, then apply full throttle and record your time to 50 mph. Repeat the process from 50 mph to 70 mph in your highway cruising gear. These measurements reveal whether your transmission provides adequate power without downshifting.
Record which gear you used for each test, because fifth-gear acceleration differs dramatically from third-gear performance in the same speed range. Note whether your transmission automatically downshifted during the run, which affects real-world usability when you need quick passing power on two-lane roads.
Step 5. Measure braking distance and fade
Braking performance determines whether you avoid accidents or cause them. You measure stopping distance to understand how much road you need in an emergency, and you test brake fade to verify your system maintains performance during repeated hard stops. These tests require careful measurement and attention to safety, because you're deliberately pushing your brakes to their limits in controlled conditions.
Marking your test course
Create a measurement zone that gives you space to accelerate, brake, and decelerate safely. You need at least 300 feet of clear pavement from your starting point through your stopping zone, plus an additional 200 feet of run-off area beyond your markers. Use bright traffic cones or chalk marks at 10-foot intervals starting from your 60 mph trigger point.
Place your first marker where you'll reach exactly 60 mph, then mark every 10 feet for the next 200 feet. These incremental markers let you record stopping distance with 5-foot accuracy by noting which marker you pass when your wheels lock or your ABS engages. Walk the entire course before testing to verify the surface is free of gravel, oil, or debris that could affect traction.
Conducting the 60-0 test
Accelerate to 60 mph before you reach your first marker, maintaining steady speed as you approach the trigger point. When you cross the marker, apply maximum brake pedal pressure immediately without locking your wheels (unless you're testing non-ABS systems). Your goal is threshold braking where you maintain control while achieving minimum stopping distance.
Record where your front bumper stops relative to your distance markers. Measure from the 60 mph trigger point to your final position, noting the distance in feet. Allow your brakes to cool for five full minutes between runs, monitoring your brake rotor temperature with an infrared thermometer if you have one available.
Brake fade reveals whether your system handles stress, making it just as important as your shortest stopping distance when evaluating real-world safety.
Recording brake fade data
Complete five consecutive 60-0 stops with minimal cooling time between runs to simulate aggressive driving or mountain descents. Record the stopping distance for each attempt, comparing your fifth stop to your first. Fade appears as increasing stopping distances (your fifth stop might need 10 to 30 feet more than your first) or changes in pedal feel, like a spongy sensation or increased travel before the brakes engage.
Document any unusual sounds, vibrations, or smells during your fade testing. These observations help you understand whether your brake pads, rotors, or fluid need replacement before you trust the vehicle in demanding conditions. Testing brake fade shows you the complete picture of stopping performance when understanding how to measure car performance beyond simple acceleration numbers.
Step 6. Turn numbers into a fair comparison
Raw performance data only becomes useful when you account for the variables that skew results between test sessions. A car that runs 6.2 seconds to 60 mph on a cool morning at sea level might need 6.8 seconds on a hot afternoon at 5,000 feet elevation, and neither time accurately represents the vehicle's true capability without correction factors. You need to normalize your measurements so you're comparing apples to apples across different conditions and vehicles.
Adjust for atmospheric conditions
Temperature and elevation dramatically affect engine power because internal combustion depends on air density. Apply a correction factor of 1 percent power loss per 1,000 feet of elevation above sea level, and add 1 percent loss for every 10 degrees Fahrenheit above 60°F. Your 250-horsepower dyno result at 3,000 feet elevation and 80°F ambient temperature actually represents about 255 horsepower corrected to standard conditions (sea level, 60°F).
Most dyno software automatically applies SAE J1349 correction factors, but you need to calculate these adjustments manually for acceleration and braking tests. Record temperature and elevation for every test session, then use these corrections when comparing vehicles tested under different conditions.
Account for weight differences
Vehicle weight affects every performance metric, so you calculate power-to-weight ratio to compare vehicles fairly. Divide your corrected horsepower by curb weight plus fuel and driver weight to get horsepower per pound. A 3,500-pound car with 250 horsepower delivers 0.071 hp/lb, while a 4,200-pound SUV needs 298 horsepower to match that ratio.
Normalizing your data transforms raw numbers into meaningful comparisons that reveal which vehicle actually delivers better real-world performance for your needs.
Understanding how to measure car performance means recognizing that the lightest vehicle with the shortest stopping distance wins only when comparing identical conditions and driver skill levels.
Build your comparison spreadsheet
Create a standardized table that lets you evaluate multiple vehicles side-by-side using corrected data:
| Metric | Vehicle A | Vehicle B | Winner |
|---|---|---|---|
| HP (corrected) | 250 | 235 | A |
| Weight (lbs) | 3,500 | 3,200 | B |
| HP/Weight | 0.071 | 0.073 | B |
| 0-60 (sec) | 6.2 | 6.4 | A |
| 60-0 (ft) | 118 | 115 | B |
| Quarter-mile | 14.8 @ 95 | 15.1 @ 93 | A |
Record all test conditions in your notes alongside this comparison table so you can verify whether differences reflect actual performance or measurement variables. This systematic approach eliminates guesswork when choosing between vehicles with similar specifications.
Wrap-up and next steps
You now understand how to measure car performance using professional methods and practical tools. These testing techniques give you the data you need to evaluate any vehicle objectively, whether you're comparing horsepower claims, verifying acceleration capabilities, or assessing brake system reliability. The numbers don't lie when you collect them properly.
Apply this knowledge during your next vehicle purchase. You can request dyno sheets from sellers, verify published acceleration times match your own testing, and identify vehicles with genuine performance credentials versus those with inflated marketing claims. Your testing checklist, correction factors, and comparison spreadsheet turn raw data into informed decisions.
Ready to put your evaluation skills to work? Browse our inventory of used vehicles in Grand Island, NY where you can apply these performance measurement principles to find a car that delivers the capabilities you actually need. Our team at Certified AutoBrokers welcomes your questions about any vehicle's specifications and real-world performance.